Kali Linux on Raspberry Pi3
Materials Needed
- 1x Raspberry Pi 2/3
- 1x 8gb or 16gb Class 10 MicroSDHC card
- 1x MicroSDHC Reader/Writer
- 1x USB Raspberry Pi 3 Power Supply 5V 2.5
- Etcher
- Keyboard, Mouse, Monitor, and Internet Access
High Level Overview
- Download kali linux for the Raspberry Pi
- Download Etcher
- Write the image to the MicroSDHC card
- Boot the Raspberry Pi and Login as root/toor
- Change the password
- Change the hostname
- Update and Upgrade
- Reboot/Test/Patch if needed/Reboot
- Test Kali
Step-by-step Instructions
Disclaimer: Please type all commands below when directed. Copy and paste the code at your own risk. The copied code could contain spaces and/or other HTML characters not suitable for python or bash scripting.
Step 1 – Download Kali Image
First you will have to download Kali Linux image for Kali Linux RaspberryPi 3 with or out nexmon.
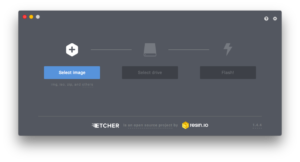
Step 2 – Download Etcher
Next, you have to write the image on the SD card. Connect the SD card to your computer using a micro SD card adapter. Open Etcher and follow the three steps on the screen. When Etcher is done flashing, eject your SD card. I decided to go with Etcher as it reduced the amount of steps required. I am leaving the other tools as an alternative.
- Etcher Download – This software is used to flash an image on top an sdcard without the risk of wiping your computers hard drive. Very simple to use.
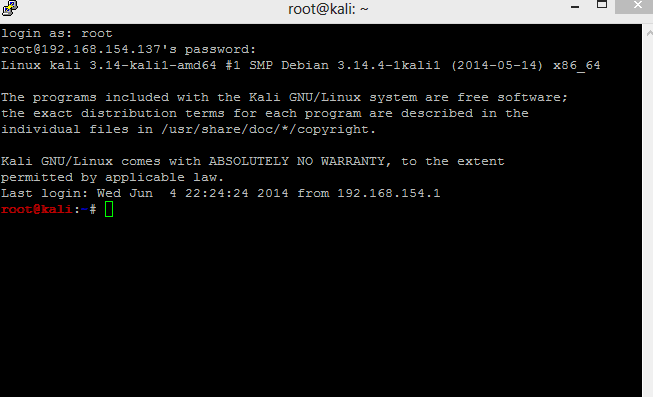
Step 3 – Power Up and Login
Carefully insert the sdcard into the sdcard slot on the Raspberry Pi. Connect a keyboard, mouse, monitor to the Pi. Once everything is connected, power up the Pi. If everything the steps you have completed so far are correct, the lights will flash and the Pi will start to boot. Once it has finished booting, you will be asked for a username and password.
- Default username is ‘
root‘ - Default password is ‘
toor‘ - Click on “
use default config“
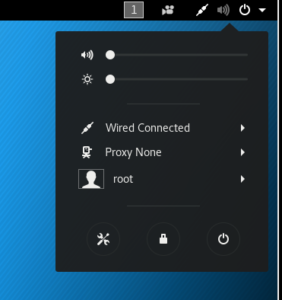
Now connect to the internet. If your computer is near your router I switch, it is best to connect directly with an Ethernet cable for the purpose of speed. You may also connect via wifi the same as you would any other computer.
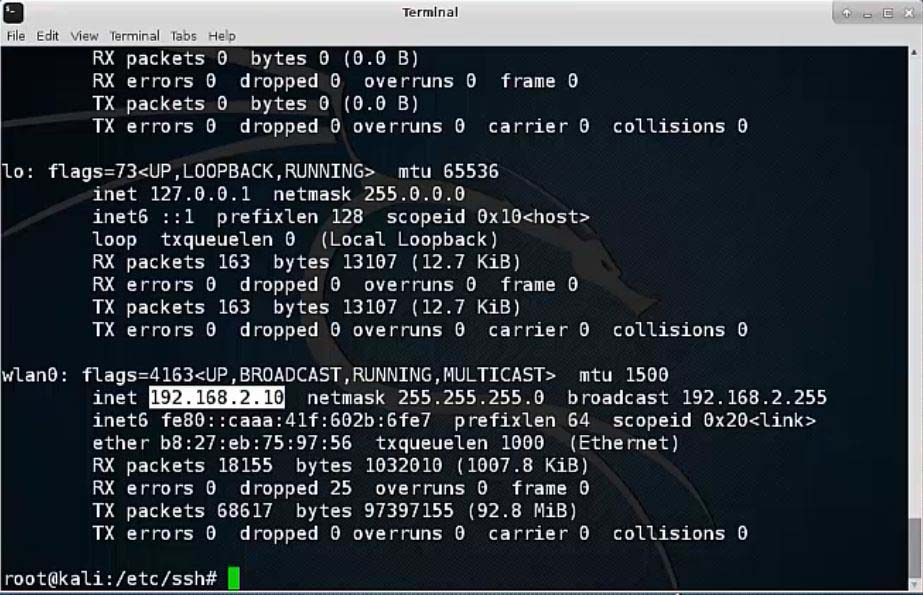
Step 4 – Connect via SSH (ADVANCED: Optional, however, this is my preferred method.)
Although not required; my preference is to complete the remaining steps from another computer using Putty to ssh into the Raspberry Pi. I have personally had the monitor attached to the Raspberry Pi go black and the mouse unresponsive during this process. If you have to power off the Raspberry Pi due to unresponsiveness, you will have to start over from Step 2. In order to connect to your Pi via Putty, you must download and install Putty, enter the IP or Hostname of your Pi and port 22 is the correct port. To obtain your ip address open terminal on the Pi and type “ifconfig”. There are 5-7 pop-up screens throughout the beginning of the install. These must be answered for Kali to install. Accept the defaults. All other steps may be completed as documented.
Putty
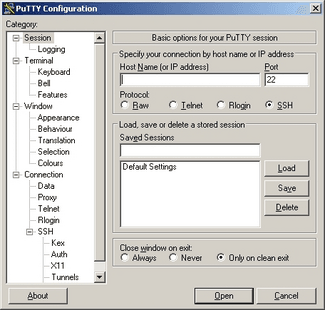
SSH
Step 5 – Change Password
root@kali:~#sudo passwd
Follow prompts on the screen
Step 6 – Change Hostname and Reboot (Optional, but wise!)
root@kali:~#sudo hostname
root@kali:~#sudo shutdown -r
Step 7 – Run an Update and Upgrade (learn more)
root@kali:~#sudo apt-get update&&sudo apt-get upgrade -y
Depending on your internet speed, this could take about 25-45 minutes. When complete run the next command.
root@kali:~#sudo shutdown -r
Step 8 – The “Raspi3-Firmware” Fix
Edit fstab
sudo nano /etc/fstab
Add the code below to the bottom of the file and save
tmpfs /boot/firmware tmpfs rw 0 0
Save and Exit by Pressing Ctrl+O then Ctrl+X
Mount Folder
sudo mount /boot/firmware
If the folder does not mount, simply reboot and compete the last step
Copy Firmware to Boot Folder
sudo cp /usr/lib/raspi3-firmware/* /boot/
Reboot
sudo reboot

At this point you have setup your Raspberry Pi, downloaded an ARM image of Kali Linux, flashed it to an sdcard, booted your Raspberry Pi, logged in and changed the password. Now it’s time to setup a vulnerable Raspberry Pi to pentest and learn a few pentesting tools.